Disk Xray User Manual

EnglishFrenchGermanItalianPortugueseRussianSpanish
4. Disk Cleaner
Disk Cleaner will help you to locate and remove useless cache, temporary or forgotten big files to free up disk space. Simply choose the location (can be a whole disk), set search options described below and press Start. After the scan is finished, you can manually select files to remove or use Actions menu to auto-selct files.
Until a next scan (or program restart) you can restore all deleted duplicate files (if you have chosen Move To Trash). To do this choose Edit/Put Files Back from the Disk Xray main menu. If you have used Delete option, files are removed permanently and can't be restored.
1. Start scanning process. Disk Xray scans always your Home folder with subfolders. It is not possible to change the folder.

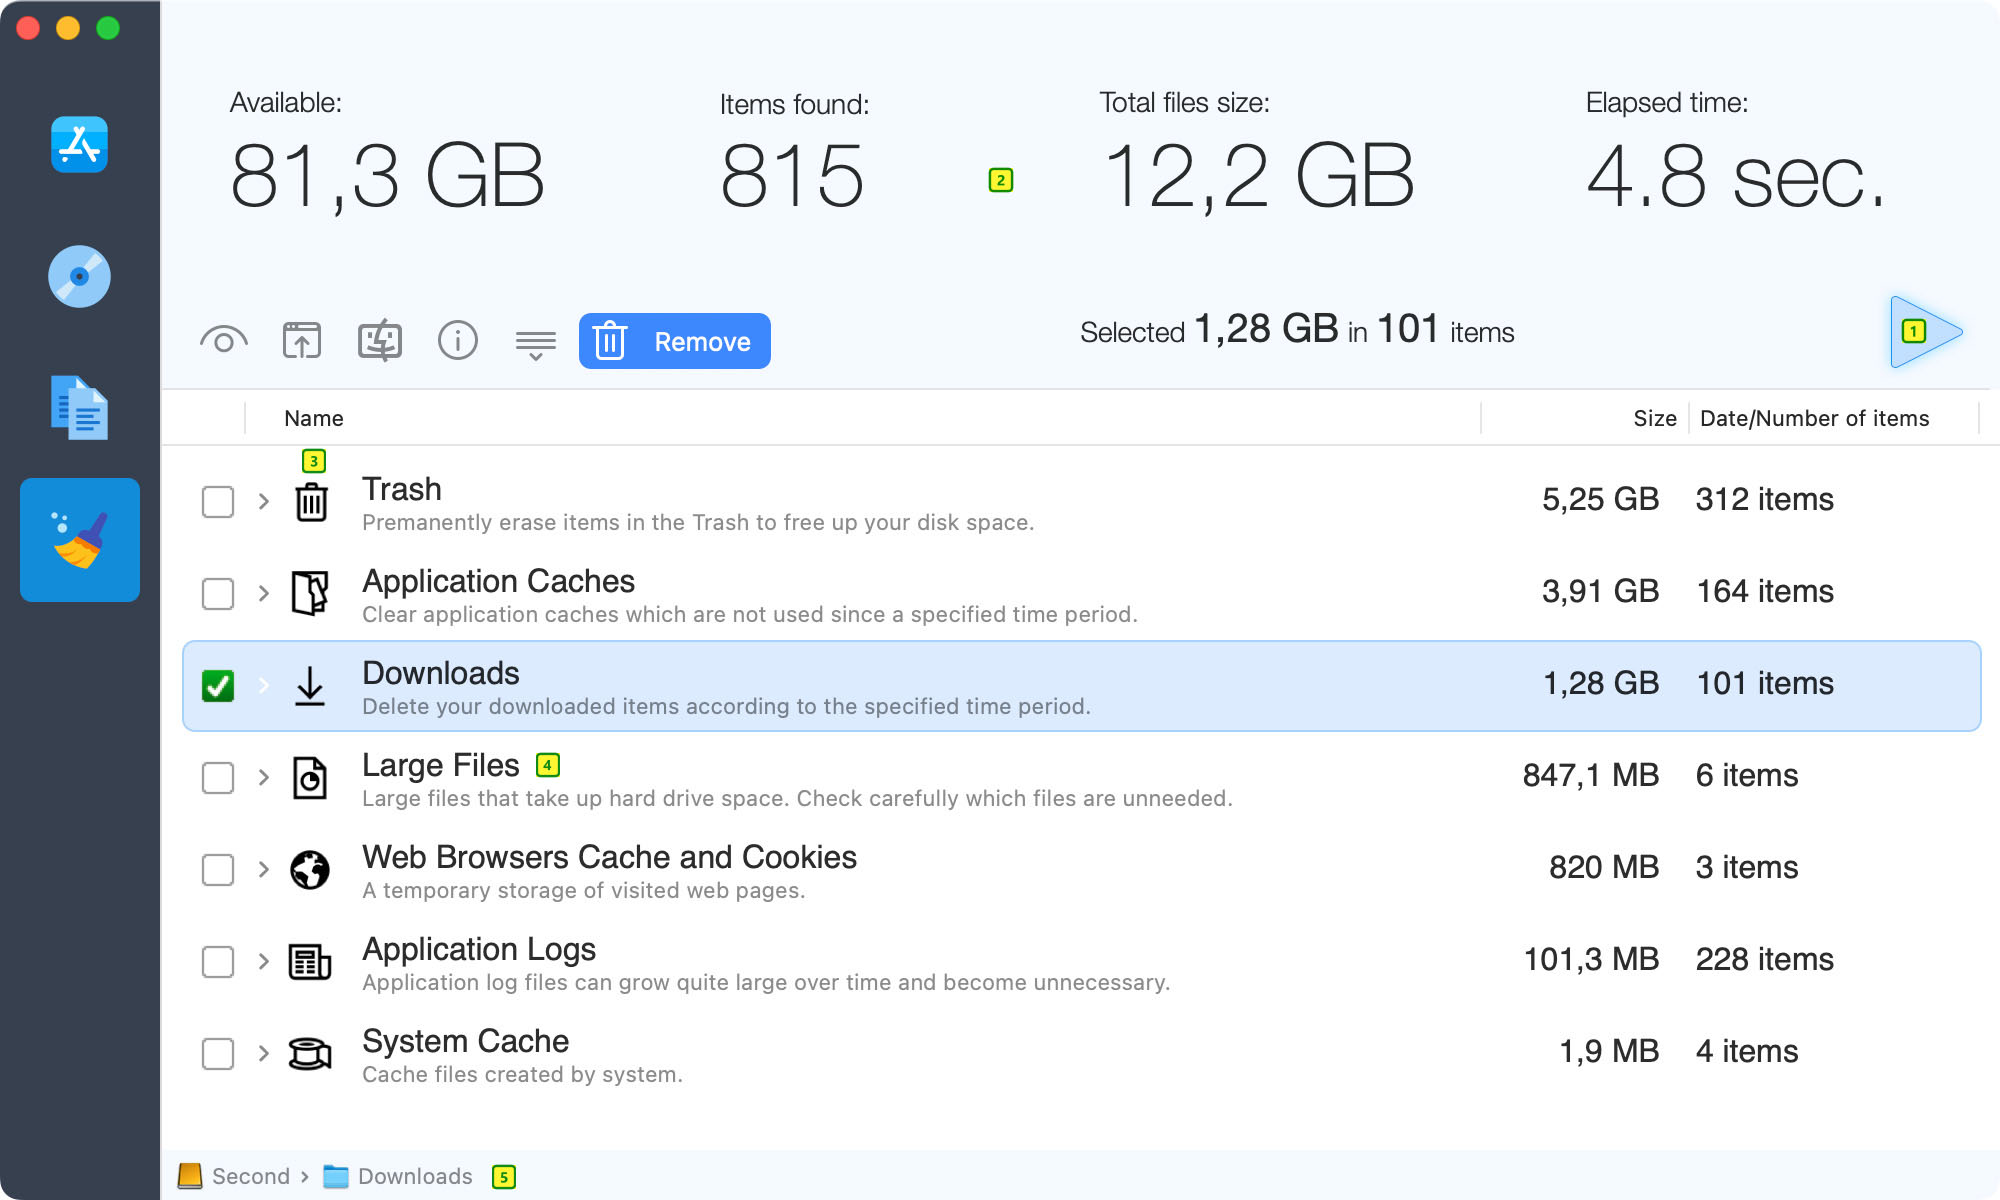
2. Summary box displays found items details.

3. All found cache, temporary and log files are divided into groups and displayed in the browser. Expand a group to manually select files to remove. You can also use the Actions menu to select files which were not used since one week, one month or one year.

4. To locate large files, click the Actions menu and select "Large Files" option. If you choose to find big files, they will be displayed with a yellow background. You should choose files to remove carefully because this group contains regular files (not cache nor temporary). Files in this group are not selected when you use Auto-select options from the Actions menu.
5. The path control displays the full path of the selected file or folder. User can click any part of the path to reveal it in the Finder.
<  Intro 1 2 3 4